Wargame rules

Feldlager 2023 Wargame Rules v1.0

These rules are copyright (c) 2023 Jake Norwood and Arne Koets.
Permission granted to reproduce for private, non-profit use.

Download the Rules HERE

What these rules
are

(and what they aren’t)

Feldlager 2023 is a Live Action Wargame that draws on aspects of historical reenactment, historical European martial arts (HEMA) studies, military simulation (MILSIM), and live action role play (LARP) to create an environment where we can attempt to recreate and experience elements of 15th century European warfare. Our priority is to provide a safe and fun environment to explore interpretations of historically-based formations, maneuvers, and wartime activities. 

These rules seek to accomplish this by promoting longer engagements that avoid the “everyone dies in 30 seconds” problem and which allow commanders on the field the opportunity to make more interesting and deliberate tactical decisions before units are wiped out. Our casualty card system is designed to promote a more historical distribution of casualties on the field as well, all while keeping as many participants active on the field as long as possible. Our approach to weapons, troop types, and armor should also provide the opportunity to explore combined arms engagements, including infantry, cavalry, and missile troops in ways that act at least a little bit like we believe they did in the 15th Century.

These rules aren’t perfect, however, and they can’t be everything all at once. We’ve made compromises for simplicity (and the rules are complicated enough despite that), scale, and the different backgrounds of our participants such as HEMA, Reenactment, and LARP, each of whom are accustomed to different conventions and levels for intensity in group combats. These rules aren’t a perfect simulation of medieval warfare and they don’t provide an ideal environment for individual combatants to competitively show off their skills. 

We ask as you read and apply these rules at Feldlager that you work to embrace the spirit of what we’re trying to do here by working as a military unit, treating your “life” as valuable and avoiding silly heroics, and having fun by safely embracing the role of a 15th century European warfighter for a few days.
Unit Structure

In the field, there are two armies: Blue Team and Red Team. Each Army is divided up into Gewalthaufen of Infantry and Conroi Cavalry. Each Gewalthauf is made up of 3-8 Banners, or Fähnlein, led by a Banner Leader. Each Fähnlein is made up of 2-3 Rotte, led by a Rottmeister. Each Rotte has 8-12.

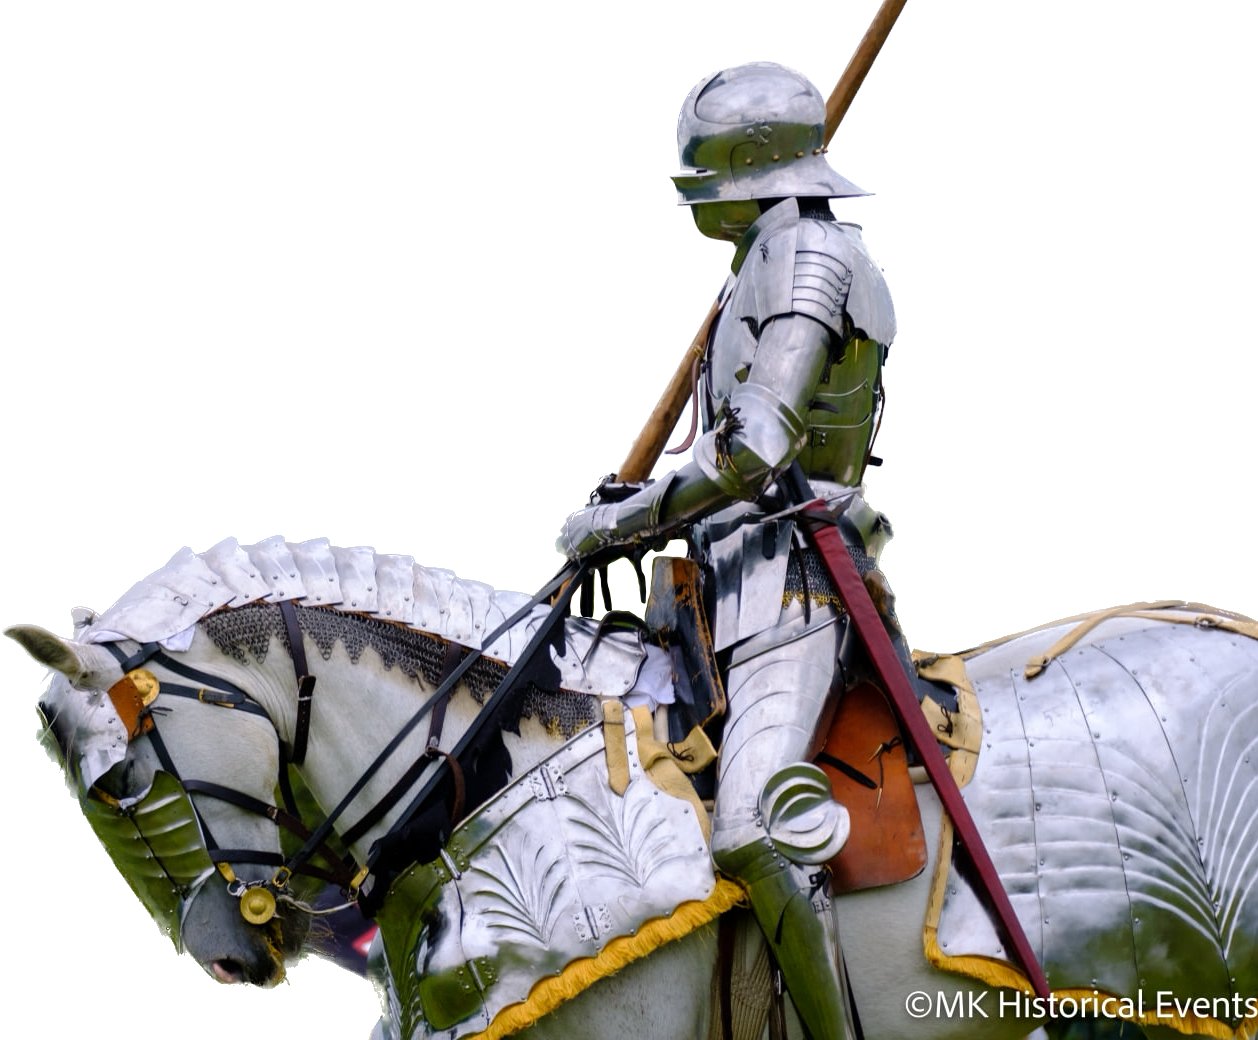
The Cavalry are divided into Conroi (Squadrons) of 3 Chambres, each of which is divided into two lances of 4 cavalry or a light cavalry chambre of 6-7.  

The Blue Team Hauptmann (Captain) is Jake Norwood, who will lead the overall Army and the Gewalthauf. Arne Koets will lead the Cavalry for the Blue Team. The Red Team Captains will be announced at a later date. Fähnlein (Banner) Leaders and Rottmeisters will be drawn from the attendees, with an attempt to keep leaders of groups of 8-15 as Rottmeisters and leaders of groups over 20 as Banner Leaders. Chambre and Lance leaders will also be drawn from the attendees and named at a later date.

Captains are responsible for the overall strategy and orders for the patrols, siege, and battles. Fähnlein and Chambre (Banner) Leaders report to the Gewalhauf/Conroi Captains and are responsible for the execution of their Captain’s orders and the care and deployment of their troops. Rottmeisters/Lance Leaders report to their Banner Leaders and assist in the command and control of the unit.

On the field, the primary unit of maneuver is the Fähnlein or Conroi, which are represented by a Banner. Members of a Fähnlein must stay close to their Banner at all times unless they become casualties (see Casualty Cards, below). A Rotte can detach from its banner assuming it has a pennant to follow and stays within vocal command distance (approximately 100m), such as during a quick flanking action. Cavalry units may spread out further as required, but should generally keep together except when executing a maneuver.

While in Camp, there is only one Army and we’re all friends. The Captain (Hauptmann) of the Army and Infantry in Camp is Jake Norwood. The Captain of the Cavalry in Camp is Arne Koets. 

Victory
or Defeat

In an engagement, two or more units enter combat, delivering and receiving hits. Fighters who are hit lose hit points, and when a fighter loses all of their hit points they become casualties (see Casualty Cards, below). The goal of an engagement is to defeat enemy units by forcing them to retreat or route, or by destroying them. The winning unit has then taken the contested ground and may either allow their opponents to retreat or may attempt to pursue and destroy them.

Destroyed Units

A unit is destroyed when all its members have become casualties and their banner has been taken. A destroyed unit cannot reform.

Unit leaders should avoid allowing their unit being destroyed, and should attempt to retreat in an orderly fashion if they lose half or more of their unit to any form of casualty in an engagement.

Retreating and Routed Units

A unit has fully retreated when it has moved 100m away from the site of the engagement without engaging with another unit, either voluntarily or through casualties.

Pursuit

When a retreating or routing unit is pursued, fighters who become casualties follow their casualty cards (see below). Fighters who are already casualties and who are struck while routing or retreating are Dead (see description of Dead below).

Rallying Around
the Banner

A retreating or routed unit may Rally around their banner by forming a rally point approximately 100m away from where the engagement they’re retreating from took place. At the rally point, wounded, routed, and retreated fighters may rejoin the unit in good health. A unit that has lost its banner cannot rally.

The rally point can be any place where casualties and retreated troops have gathered and does not need to be a predetermined area or marked with a pennant or flag of some kind; doing so, however, will make it easier for other troops to find and join your rally point.

Restoring
the Dead
to the Unit

After an engagement has ended and one unit has fully retreated or been destroyed, the victorious unit may collect its dead and move on. Dead fighters may rejoin their unit as combatants approximately 10 minutes after the end of the engagement where they “died.” 

Dead fighters from the defeated unit may also rejoin their units at this time, and may rejoin fighting approximately 10 minutes after the end of the engagement is over.

Getting Your
Banner Back

A unit that has captured a banner should return it to its owner approximately 10 minutes after the end of the engagement where the banner was lost. The easiest way to do this will usually be to send the banner back with one of the “walking dead.”

Casualty Cards

Before each major combat event (i.e., Patrols, Siege, Battle, etc.) each participant will be issued a casualty card.

Each card contains three major pieces of information.

  1. How many hit points you have.

  2. What you do at the end of those hit points.

  3. How to rejoin your unit after losing all of your hit points.

Hit Points

  • Participants will have between 1-3 hit points, as noted on their card. Cavalry always has 1 hit point.

  • You lose a hit point every time you are hit by a weapon in a valid target (see Penetration & Armor, below). 

  • You also take 2 steps back every time you are hit, regardless of how many hit points you have. This is important!

  • Participants will track their own hit points and be on their honor to do so as honestly and accurately as possible within the chaos of the melee. When in doubt, take the hit.

Penetration & Armor

Details on targets and safety are published in the Rules of Engagement video on YouTube. This is an incomplete reiteration of some of those points. 

  • The full body is a target, except for the unarmored face and throat. 

  • Unarmored limbs, including arms and legs, are valid targets. 

  • All attacks count at a simple touch. Hard hits are not required and should be avoided. 

  • Safety in attacking is of paramount importance. Attack safely, and interpret touches generously. If you think you’ve been hit, you’ve been hit.

Special Weapons

  • Cavalry Lances count as 3 hit points on a touch to a vulnerable target (i.e., anything but plate). A fighter touched by a cavalry lance in a valid target becomes a casualty immediately.

  • Firearms must be used in Volley Fire against a massed unit (i.e., Fähnlein or Rotte). All fighters with 1 hit point in a unit targeted by a firearm volley become casualties immediately. This includes fighters who may have started with more hit points, but currently have only 1 hit point left.

  • Crossbows may be shot at a cavalryman's valid targets from up close as normal. When using volley shot (5 or more simultaneous shots) against a Cavalry unit, aim the shots in front of (not at) the cavalry. The Cavalry has an obligation to retreat 100m.

In order to keep the game fairly simple, all armor of a given type behaves the same way every time. For an armor’s defensive quality to apply, the attack or touch must land on the armor (not next to it):

  • Plate stops everything. Controlled, downward touches to the helmet count if performed with a poleaxe, halberd, warhammer, or similar. 

  • Brigandine stops everything but guns, crossbows, and horse lances

  • Mail, heavy padding, and hardened leather stop cuts and arrows, but not guns, crossbows, lances or thrusts from hand weapons.

  • Unarmored areas (clothing, skin) stop nothing--any touch to those targets counts as a hit.

Becoming a Casualty

When you lose all of your hit points you become a casualty and one of five things happens:

  1. Dead. You (pretend to) die. Fall to the ground and stay there, taking reasonable precautions for your own safety and that of those around you. This will usually require moving to the side of the engagement, especially if there are horses about.

  2. Wounded! You (pretend that you are) are gravely wounded. Fall to the ground, roll around, call for your comrades to save you. To prevent confusion for real injuries, shout “Wounded!” between your cries for help. Shouting that you are injured or hurt will be treated as if you are really hurt and we don’t want to confuse medical staff. If you are struck again while on the ground, you are Dead.

  3. Rout! You turn and flee the battlefield toward the rear of your own line or to the safest place possible at least 100m away, where you can regroup with other routing fighters. If you are struck after you have left the line on your way to your regroup point, you are Dead.

  4. Retreat! You continue fighting or defending yourself, but move to the back of your line and continue to move away from the fighting as safely and carefully as you can. If you are struck after you have pulled off of the line you are Dead.

How to rejoin the combat

  • Dead fighters: wait until the engagement is over, rejoin your unit when safe. You may not rejoin combat for approximately 10 minutes after the end of the engagement where you “died.”

  • Wounded fighters: if you are dragged (escorted while leaning on 1 or more friendlies) back to the rally point (100m behind the lines) you may rejoin your banner when your banner comes to you. If you are left on the battlefield, wait until the engagement is over and rejoin your Fähnlein. You may rejoin combat approximately 10 minutes after the end of the engagement where you were wounded.

  • Routed fighters: you may rejoin your unit when your banner comes back to the rally point to pick you up.

  • Retreated fighters: you may rejoin your unit when your banner comes back to the rally point to pick you up.

Sample
Casualty Card

What if you are
hurt for real?

Safety is the most important priority on the field.

In the event you or someone near you sustains a real injury during an engagement, the injured party or another person nearby should shout “Medic!” Upon hearing “Medic” everyone in the engagement should immediately stop what they are doing and create space for the injured party to be helped and, if necessary, evacuated from the area. 

Once the injured party has been safely evacuated from the engagement area, the unit commanders should meet, briefly discuss how to re-initiate the engagement, and then do so.

If you are wounded in play (i.e., due to the results of your casualty card), do NOT shout “Medic.” Say “Wounded!” instead.

Other instructions for your casualty card

  • Keep your card until the White Cell or your Fähnlein leader collects it and gives you a new one.

  • Do not lose your card. Put it in your helmet lining, under your hat, in your purse, etc.

  • Keep your card secret, do not share it with anyone until after you’ve run out of hit points, at which point anyone can ask to see it.

  • Do not trade your card with any fighters.

  • Memorize your hit points and what you do when you lose all of your hit points so you don’t have to pull your card out during the battle.

  • Perform the card-directed action immediately after losing your last hit point and taking your two steps back.

  • Remember that safety is more important than the actions the card gives you. Only perform the card-directed action when safe for you and the people or horses around you.

  • Return your card to your Fähnlein leader or white cell member when requested. (Note: The White Cell are the event organizers and “game masters.”)